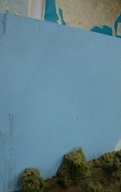
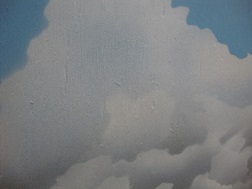
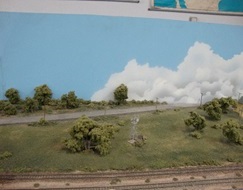
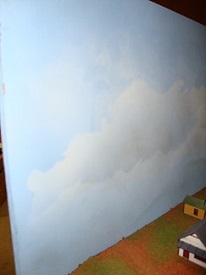
The skyboard is the most often scratched, chipped, scarred or otherwise cosmetically damaged piece of
most modules. Skyboards also have a tendency to warp or curl and often absorb paint so that the grain of
the wood eventually shows through.
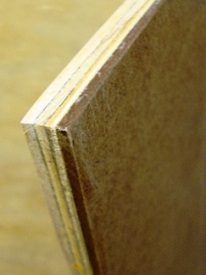
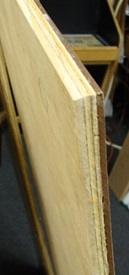
Two frequently used skyboard materials are plywood and hardboard. Individually both of these materials lead to
the problems noted in the previous paragraph. However, one way to minimize those problems is to laminate those
two materials to each other, resulting in a stronger, smoother, more durable skyboard.
Start with a 4’ x 8’ sheet of 11/32” 3-ply plywood and an equally sized sheet of 3/16” Masonite hardboard. Glue the
two boards together with industrial strength wood glue. Be sure the rough side of the Masonite goes against the
plywood. Laminated Skyboard Laminated Skyboard Laminated Skyboard The rough surface will improve the adhesion
between the two pieces. It is important that the glue is evenly spread across the entire surface, with no dry spots.
If you do this in your garage, be sure to lay the Masonite on the cement floor and place the plywood on top. If you
put the plywood on the bottom, it will wick up any moisture imbedded in the pores of the concrete and the plywood
will warp. Also, be sure to apply sufficient weight across the entire surface (edges, corners, and centers) and allow
adequate time for the glue to cure (at least 24 hours) to ensure a good bond. By doing a full sheet, you will be able
to cut several skyboards from the sheet, all with smooth, matched edges.
Even though the plywood is already a 3-ply laminate, by adding the Masonite layer you end up with a sturdier ½”
thick skyboard that is less likely to warp and has a smooth, even surface for painting backgrounds.